Why I Built Neopoligen
Intro
Making your own website builder is generally considered a silly thing to do. There are a ton of great site generators out there. If you're goal is simply to build a website, spending time "reinventing the wheel" isn't worth it.
So, why did I build my own? Because, it wasn't about the websites. It was about replacing markdown.
If you want to see what my format looks like you can check out the source file for this page here↗
The Case Against Markdown
I started using Markdown 1 for my notes for as soon as learned about the format. I love writing notes in plain - text files. I also publish a huge chunk of my notes on my website. So, having a format that outputs to HTML is ideal.
There are things I don't like about it though :
-
It's very limited in what you can do with it. Basically just headings, lists, links, basic images, and code blocks
-
There's no built - in way to add more content block types
-
There's no built - in way to apply attributes to sections
-
There's no built - in way to apply attributes to inline text
I bumped up against those limitations enough that it sent me on the search for something else.
The Case Against MDX, Etc...
I started looking at MDX when I hit my frustration limit with Markdown. It looked promising, but after getting it to work I realized I don't really like working with the JSX.
I took a look at Markdoc and some other formats too. They offered different feature sets, but nothing quite did what I wanted. So, I decided to start from scratch.
Designing Neopolitan
My website is over twenty years old. I've moved content repeatedly over the decades. I've used plain HTML, wordpress, django databases, ruby on rails, custom databases, markdown, MDX, and probably a few other things I've forgotten.
I never want to have to migrate content again.
That meant coming up with a single format that could do everything I can think of at the moment and everything I can envision wanting to do in the future. All without relying on a framework or specific language.
I ended up with the format I'm calling Neopolitan. I tried to keep it as simple as possible.
Templates Not JavaScript
I'm tired of jumping JavaScript frameworks. One of the final straws that sent me down the path of making my own site generator was when I went fix a spelling error on a site I hadn't touched in a few months and everything broke because some dependency in the framework changed.
Neopoligen is pretty basic at it's core. It parses Neopolitan files to create ASTs that are sent to the template engine for rendering. There's still some things to add to the AST, but the goal is to get the point where any changes are additive so that existing templates will always continue to work with future updates.
Neopolitan Sections And Spans
You can read more details about how the format works on the home page , but it mainly breaks down like this :
-
Each page is made of sections
-
Each section has a defined type
-
Each section can have attributes
-
The content in each section can have spans
-
Each span has a defined type
-
Each span can have attributes
The most important point about the sections and spans is that they are arbitrary. The default theme ships with several basic ones to get started, but you can make new ones on the fly.
There's not a lot to it, but that's kinda the point. Complexity is friction and friction keeps me from making things. I want to reduce it as much as possible.
Sections
Neopolitan sections open with a line that has two dashes followed by the kind of section. For example :
-- note

This is a note

-- aside

This is an aside

-- warning

This is a warning
Which outputs :
This is a note
This is a warning
Section Attributes
Section attributes are created by adding lines started with two dashes directly below the opening section line. For example, here's a "class" attribute added to a "p" section to apply a CSS style to the section to change the of the text :
-- p
-- class: green

Pour the stew from the pot into the plate

Raise the sail and steer the ship northward
Which outputs :
Pour the stew from the pot into the plate
Raise the sail and steer the ship northward
Section Templates
Neopoligen works by mapping the different types of sections to corresponding MiniJinja 4 templates 5 . There are several templates built into the app, but you can also make your own. For example, here's a section type I made called "book - to - read - example" :
-- book-to-read-example
-- title: The Peripheral
-- author: William Gibson
-- image: /neo-images/the-peripheral-cover/100w.jpg

I've read a bunch of other William Gibson stuff and can't
wait to get to this one!
Which looks like this :
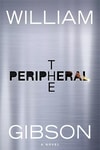
The Peripheral
I've read a bunch of other William Gibson stuff and can't wait to get to this one!
It's important to point out that there's no difference between the templates that ship with Neopoligen and the ones you make. You can make as many arbitrary sections as you want. They are all treated the same way.
Alternate Templates
Each section has a default template. Additional templates can be built for them as well. Switching to one of the alternates is done by adding a "template" attribute to the section.
Here's the same example as above but calling a template called "alt" :
-- book-to-read-example
-- title: The Peripheral
-- author: William Gibson
-- image: /neo-images/the-peripheral-cover/100w.jpg
-- template: alt

I've read a bunch of other William Gibson stuff and can't
wait to get to this one!
Which looks like this :
The Peripheral
I've read a bunch of other William Gibson stuff and can't wait to get to this one!
There's a clean separation of concerns between the content and the layout.
Nesting Sections
One of the biggest differences between Neopolitan and markdown is that sections can be nested. This is done by adding a "/" to the end of a section name where you want the nesting to start and then closing the nesting with a corresponding section that starts with a "/". For example :
-- div/
-- class: example-grid

    -- note

    Fly by night, and you waste little time

    -- note

    Pull the dart from the cork target

    -- note

    Pick a card and slip it under the pack

-- /div
Outputs :
Fly by night, and you waste little time
Pull the dart from the cork target
Pick a card and slip it under the pack
Spans
Spans are sections of content that look like this :
This is <<strong|bold text>>
Which outputs :
This is bold text
They work similar to sections in the each one has a corresponding template. Spans default to putting their text inside the corresponding HTML tag (e.g. "strong", "em", etc...).
Span Attributes
Spans can take optional attributes. They can be used for things like setting a CSS class on them.
For example, this :
This is <<strong|green bold text|class: green>>
Turns into this :
This is green bold text
Span Templates
Span templates don't have to map directly to HTML tags. They can be used to create more complicated output. Take this "tablink" for example :
<<tablink|text to link|https://www.example.com>>
It's used to create a link to another page that opens in a different tab like this :
The template creates the link, points it to the " _ blank" target for the new tab, and then appends the character to identify that it's going to a new tab.
Built - In Test Suite
Each template can have a set of tests associated with it to make sure it's doing the right thing. All the tests are run each time a site is generated and a report shows any errors.
The tests themselves are done in Neopolitan files that look like this :
-- start-theme-test

-- p

Alfa bravo charlie

Delta echo foxtrot

-- expected-output/

<section class="p-section flow">
<p>Alfa bravo charlie</p>
<p>Delta echo foxtrot</p>
</section>

-- /expected-output
Adding CSS
My website includes a lot of my notes. Lots of those
have little pieces of CSS. To help accommodate this I use a
-- css
section type. The default template
for the section type is empty. So, nothing renders
directly on the page. Instead I added the content
of the section to the
<
head
>
of the document at the
page level (which is just another template).
Of course, since it's a section, we can create a new template
that
does
output its contents and call it
to show the code on the page too. For example, this
adds css for the
to the
page
:
-- css
-- template: show

button {
    color: red;
    font-weight: bold;
}
And, it outputs this on the page :
CSS
}I get hugely frustrated when I'm reading a blog post where someone puts in CSS that they say does something but when you copy/paste it it doesn't work. This goes a long way to avoiding that since the code displayed on the page is literally the same code that's in the < head > of the document.
Adding HTML
Adding HTML on the page is done in a similar manner to CSS. The biggest difference is that it outputs where you put it instead of in the < head > of the document. So, this :
-- html

<button>This button does nothing</button>
Outputs :
The red/bold font in the button is from the CSS that was added to the page in the example above.
Showing HTML
Like CSS, you can also make templates that show the source code along with the actual items in the DOM.
For example, this :
-- html
-- template: show-above

<button id="count_btn" data-count="0">
    Counter: 0
</button>
Outputs this :
HTML
Counter: 0
Output
This helps make sure that any HTML samples in blog posts and tutorials actually work because the same code that's used for the DOM is what's actually displayed.
Adding JavaScript
You can add JavaScript to the < head > of a document the same way you can with CSS. By default, it doesn't show on the page, but you can use a template to show it as well.
For example :
-- javascript
-- template: show

function addToCounter() {
    const btn = document.querySelector("#count_btn")
    const count = parseInt(btn.dataset.count, 10)
    btn.dataset.count = count + 1
    btn.innerHTML = `Counter: ${btn.dataset.count}`
}

document.addEventListener("DOMContentLoaded", () => {
    const btn = document.querySelector("#count_btn")
    btn.addEventListener("click", addToCounter)
})
Adds the code to the < head > of the document and outputs this on the page :
JavaScript
document.You can verify that the code works by clicking the button in the HTML section. (Again, this is in an effort to make sure that any samples I show actually work)
External Scripts And < head > Content
The
-- head
section is used to add things
directly to the
<
head
>
of a page. This can be used to call
external JS libraries like P5, D3, etc... or anything
else that you need to load onto the page.
Section Syntax Highlighting
Neopoligen includes a built in syntax highlighter. I use
it in
-- code
sections by passing the name of
the language like this
:
-- code
-- rust

fn main() {
    println!("Hello, world");
}
Which outputs :
Syntax highlighting is done with classes instead of inline styles so things can be controlled from style sheets.
The highlighter also adds span at the start of each line that can be used as a target for adding CSS line numbers as seen above.
Eventually, this will be a web component that has a copy button, displays the language, and has the ability to turn wrapping on and off. It's just a matter of updating the template to make that happen.
Span Syntax Highlighting
Language specific syntax highlighting can be done one inline code too.
Rust code: <<code|println!("hello");|rust>>
Which outputs :
Rust code
:
println!;
Footnotes
I love footnotes. They make it easier for me to write at a higher level then point to more detail later which makes for better prose. There's a shorthand built into Neopoligen for adding the footnote numbers in the content that looks like this :
This is a footnote^^6^^
Which outputs :
This is a footnote 6
These correspond to a footnote section that has an id attribute with the same number. For example, this is the section that produces the footnote that's at the bottom of the page :
-- footnote
-- id: 6

This is the target footnote for the example in
the main content.
Responsive Image Optimization
I used to be a professional photographer. I don't shoot
as much these days, but I still want it to be easy to
work with photos. Neopoligen is set up so I can throw
my full size images into a directory and it'll automatically
make multiple sizes of them that can be used with
srcset
.
Calling Images By Name
Another image related thing I always found a pain was dealing
with the paths for the images. Neopoligen deals with this
by calling images by name regardless of where they are stored
in the source images directory. The data returns to the
template includes all the available responsive sizes for
building a
srcset
attribute.
You can also skip the extension. This means if you ever decide to to something like upgrading all your .jpg files to .webp, they'll continue to work without having to go back and re - name everything.
The default way to call an image looks like this :
-- image
-- large-test-image
-- alt: The words 'Large Test jpg' are in dark blue
-- alt: text on a black background in the upper right.
-- alt: Most of a red circle shows up in the upper left,
-- alt: and most of the bottom is covered by a curved
-- alt: blue shape that just gives some shape for
-- alt: this test image.
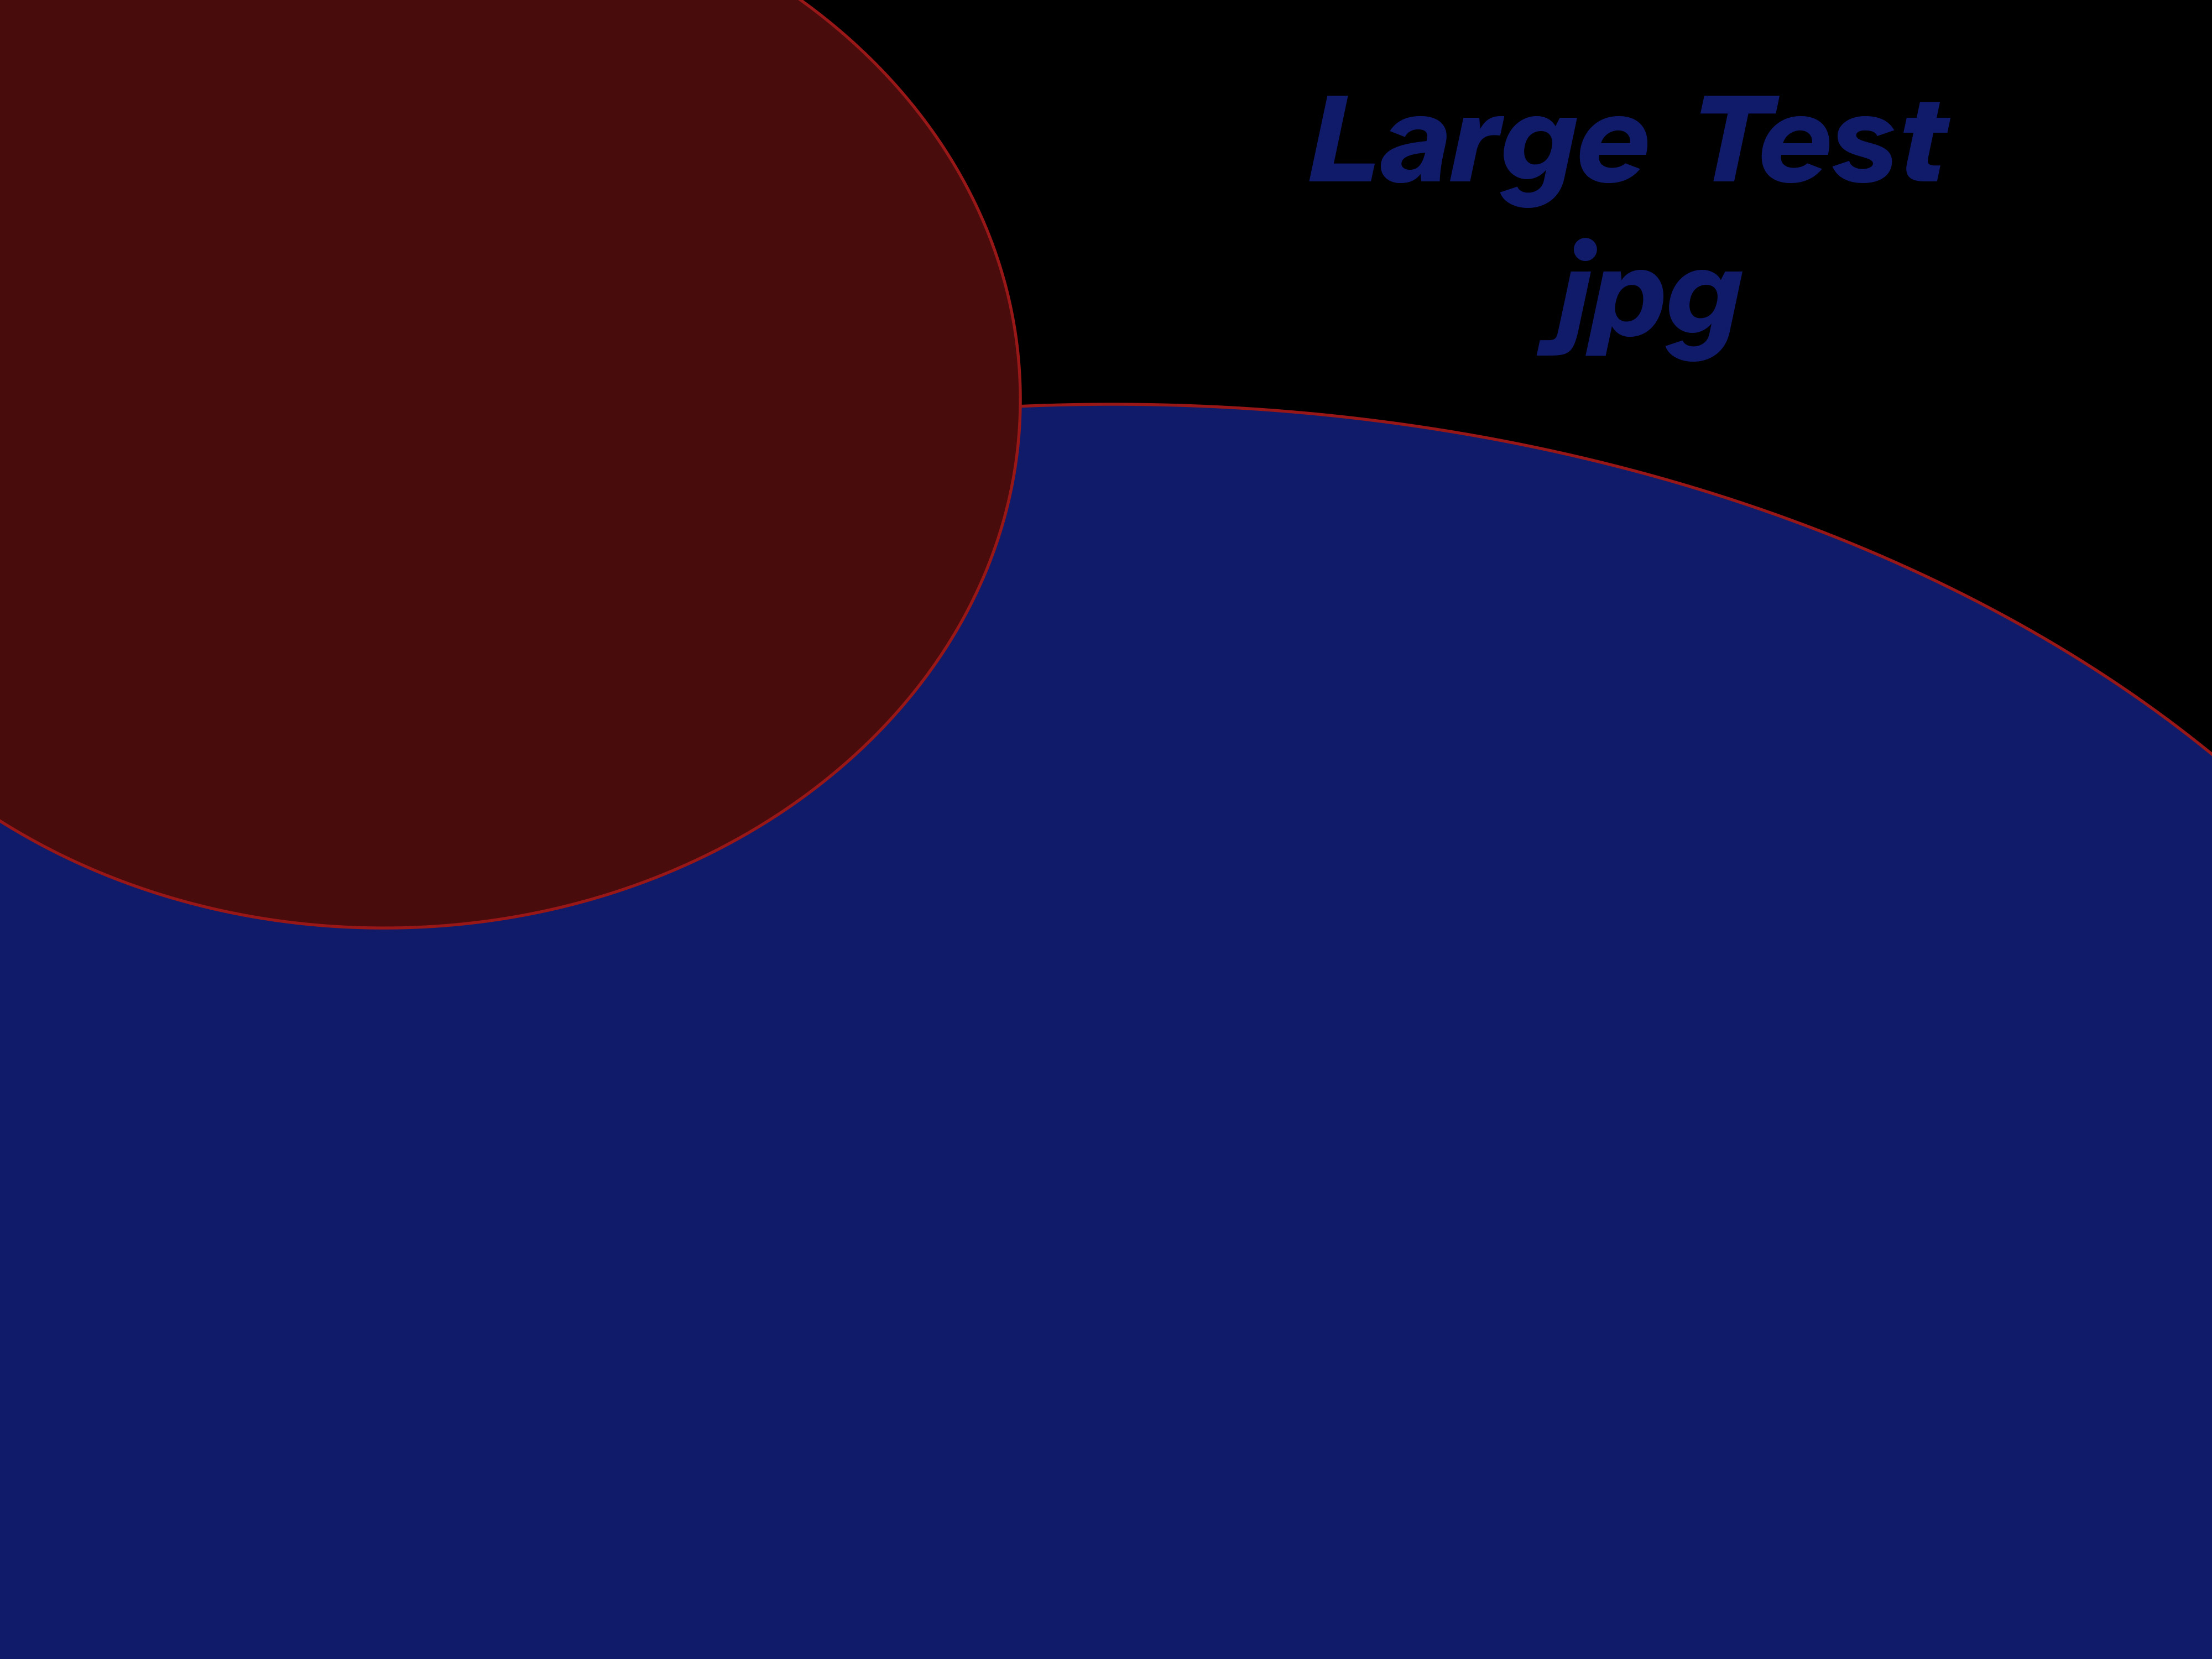
The example also shows how alt text can be added to image including extended alt text that would otherwise end up in a single very long line in the content file.
I'm refactoring the way images handling. The srcset and alt text might not show depending on when you see this. And, yes, if you have two files with the same name it creates a "race condition" where you don't know which image will show up. I'm adding a feature to warn you about that, but either way it's a minor issue compared to the convenience of not having to mess with file paths.
Automatic Image Alt Text Ingestion
The International Press Telecommunications Council 7 (which is responsible for setting standards for the new media) added Alt Text fields to their spec 8 . These have been included in Photo Mechanic, Photoshop, Brdige, and Lightroom (the tools I use for editing my photographs). This means you can store alt text directly in your images. Neopoligen pulls that metadata if it's available and uses it for image alt text.
Open Graph Image Generation
Neopoligen is set up to automatically generate Open Graph images that include the title of the page for use in previewing on other sites. You can also create custom ones for individual posts as well.
RSS Feeds
I love RSS Feeds. There's been a bit of a resurgence of them recently and I want to participate. I'm still figuring out the exact approach I want to use but Neopoligen will be able to provide multiple feeds that can be filtered based off different criteria (e.g. just posts, just photos, or everything)
RSS Timeline
I'm still working on this, but the basic idea is to create a list of other RSS feeds and then include links to the individual posts as a form of timeline.
Microblog
Microblog style posts can be made without having to worry about making a title.
DB Style Collections
This is still a work in progress, but the goal is to be able
to query across all my content files to make collections out
of them. For example, I'm making a book section type. By adding
and
-- read
attribute to it I can create pages
showing what I want to read and what I've read independently.
When I read a book, I'll update the attribute for it and it'll
move automatically.
This is actually one of the most exciting things for me. The idea that I can use flat files to store content and then query things like a database opens the door for so many possibilities.
Permanent URLs
I don't want to have to think about URLs. And, if I ever migrate to new software I want to make it as easy as possible to match the existing URls so I don't have to do a bunch of redirects. To address this I set up Neopoligen so that every page must have an ID and that ID is what's used by default for the URL. The base URL for any post is :
/LANGUAGE/ID
For example, this page is always available at :
/en/2kn3czfj
URLs are made more human readable to appending the title in a "query parameter" like this :
/en/2kn3czfj/?page=why-i-built-neopoligen
Because of the way the site is served the title can change and both the old and new URLs will continue to work without having to build a redirects setup.
They aren't the prettiest URLs. I'm also unsure of what the SEO impact of moving the titles to query strings is. But, I don't care. This is very much a case where I prefer function (designed to prevent link rot) over form.
Automatic Linking
Because URLs are ID based it's trivial to use them to create links between pages. Two built - in templates provide links with either custom text or the title of the page being linked to. For example :
This is a <<ilink|custom text link|2kiw8tvv>>

Link with title: <<tlink|2kiw8tvv>>
Outputs :
This is a custom text link
Link with title : TODO List
Wrapping Up
I've been working on Neopolitan and Neopoligen for a couple years at this point. The idea above are the refinement of all that time. My goal is to be able to use the format and the engine for the next twenty years. But, even if the engine doesn't last, I'm pretty confident at this point that the format will stick with me.
It's been a lot of work, but I couldn't be happier with the results.
If you've got any questions or just want to reach out, you can hit me up on Mastodon
Footnotes
- Markdown
The lightweight markup language that's used all over the place in the tech world.
- MDX
A way to add JSX to Markdown
There are also JSON and YAML sections on the way for using more complicated data structures
- MiniJinja
A rust template engine based of the Jinja2 template engine from Python
If there's no matching template for a specific section or span type a generic replacement is used
This is the target footnote for the example in the main content. Note that there's nothing magical about them. They are built from section and span templates just like everything else.
- International Press Telecommunications Council
The global standards body of the news media. Responsible for making the IPTC metadata spec.